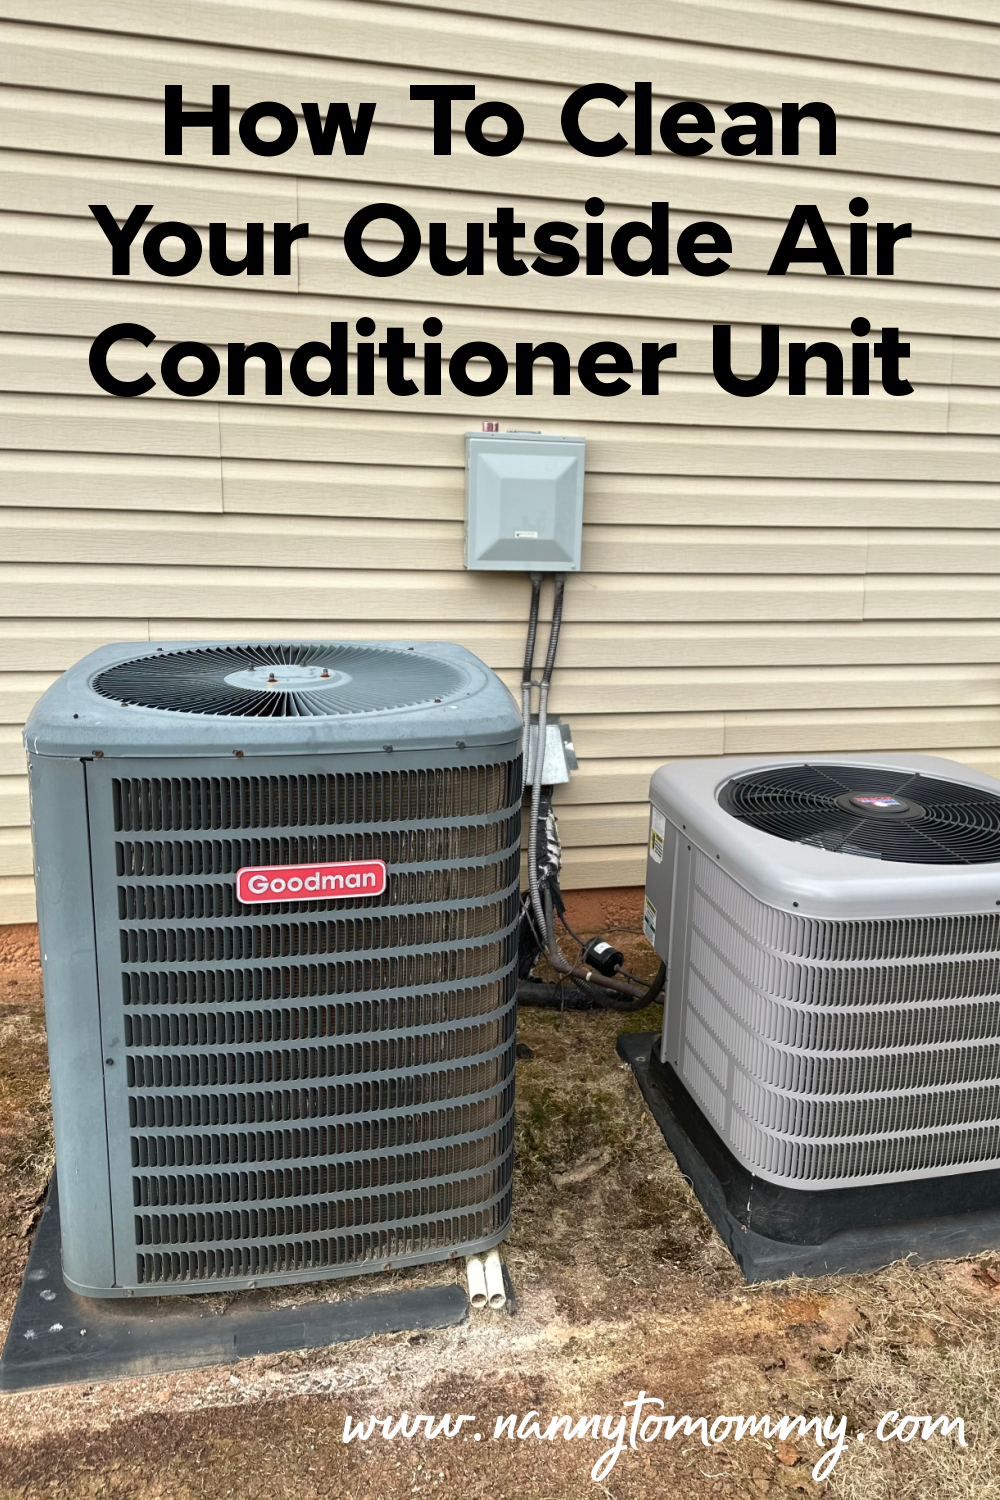
Unfortunately, many don’t realize the importance of cleaning the outside unit as well. The outdoor condenser requires regular maintenance to keep it running efficiently and effectively. In today’s post, we’ll explore how to clean an outside air conditioner unit and why it's important to do so regularly.
Homeowners will learn the necessary tools and supplies needed for the job, as well as helpful tips on how to make sure everything goes smoothly when taking on this task.
With these simple guidelines, you can ensure that your AC system stays in optimal condition all year round! Continue reading if you’d like to learn how to clean your outside air conditioner unit like a pro.
Click here to learn more about the HVAC services available in Arlington, VA.
Why Do You Need to Keep Your Outside Air Conditioner Clean?
Here are ten of the top reasons why you should consider cleaning your outdoor air conditioner:
● Reduced risk of breakdown or failure
● Improved efficiency and performance
● Decreased utility costs
● Extended lifespan of the AC unit
● Elimination of allergens, bacteria, and mold in the air circulating inside your home
● Reduced chance of overheating due to clogged air vents or filters
● Avoidance of fire hazards due to the buildup of dust and debris on electrical components
● Reduction in noise levels caused by a dirty fan motor or condenser coil
● Improved indoor air quality by removing dirt particles from the system before they are circulated throughout your home
● Peace-of-mind knowing that you’re doing all you can do to keep your family safe and comfortable!
How to Clean Your Outside Air Conditioner Unit: A Step-by-Step
Guide for Homeowners
Step #1 — Gather the Necessary Tools and Supplies
Homeowners should gather all of the necessary tools before beginning their cleaning project. This includes a garden hose, a vacuum cleaner with an extension wand, a soft brush, a screwdriver, and mild detergent soap if needed.
Step #2 — Shut off the Power Source
Homeowners should always shut off the power to the unit before performing any maintenance tasks. The best way to do this is by turning off the circuit breaker connected to it in order to prevent electric shock and potential damage to components.
Step #3 — Remove Access Panels and Clean Coils
Homeowners should then remove any access panels or covers from the unit in order to expose the coils inside. If there is any debris or dirt present, they can use their vacuum cleaner’s extension wand attachment and gently sweep over the coils until they are clean.
Step #4 — Scrub Surfaces
Homeowners should then take their soft brush and scrub away any remaining debris on the exterior surfaces of their air conditioning unit. If there are stubborn stains that won’t come clean with just brushing, homeowners can use a mild detergent soap as well as warm water when scrubbing for extra power against grime and buildup.
These are indeed delicate parts and should be tended to with care. This is why central Virginia homeowners call a professional specializing in HVAC in Fairfax County to lend a hand. A professional air conditioning technician is trained to carefully clean your outdoor unit without causing any damage. They will use specialized tools and techniques to get the job done quickly and efficiently, ensuring that your AC system stays in optimal condition for years to come.
Step #5 — Rinse with Water
Homeowners should then rinse down all surface areas of their outside air conditioner unit with water from their garden hose in order to ensure all detergent is removed from its surfaces. Homeowners should also take care to avoid nesting spots for birds while hosing down their unit—this will help keep out any potential pests!
Step #6 — Reassemble Access Panels
Once everything has been properly rinsed down, homeowners should reassemble any access panels or covers that had been removed earlier in order to complete the cleaning process for their outside air conditioner unit. Homeowners can also use this time to check that all electrical connections are secure and that no damage has occurred during maintenance activities before restoring power to the unit itself.
Step #7 — Restore the Power Source
After making sure all connections are secure, homeowners can now restore power back into their air conditioning units by flipping on its associated circuit breaker again—now it’s ready for use!
Congratulations! You’ve learned how to clean your air conditioner unit outside!
What Should You Do If Your Outside Air Conditioner is Broken?
It is important to note that fixing a broken air conditioner can be costly, so it is best to prevent this from happening in the first place by regularly cleaning and maintaining your unit.
How To Clean Your Outside Air Conditioner Unit — Conclusion
By following the steps outlined above, homeowners can easily keep their outdoor air conditioning units functioning at their best for years to come.


No comments
Thank you for dropping by! I would love to hear what you thought. :)
Thanks!
♥,
Diana