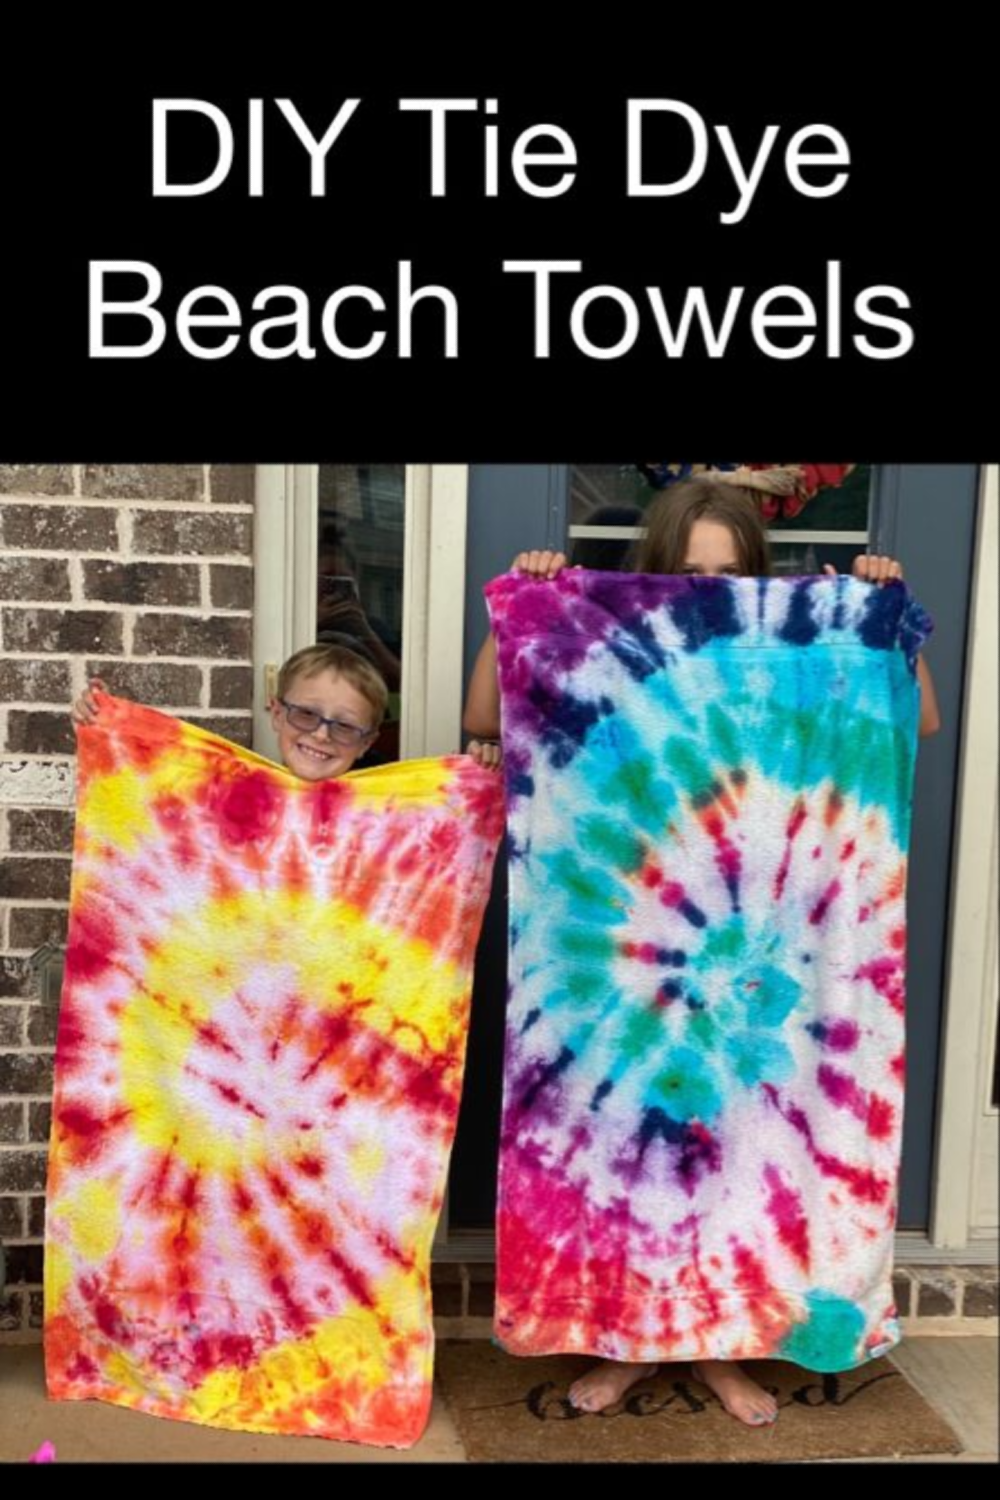
Looking for a creative, budget-friendly way to kick off the summer season with your kids? While matching tie dye shirts are always a classic vacation look, last year we tried something different, and it was a huge hit. Instead of shirts, we made DIY tie dye beach towels using a few old towels we had lying around. Not only was it a fun warm-weather craft, but the towels turned out so vibrant and unique that we get asked about them every single time we use them at the pool, beach, or lake.
So, if you're looking for a family-friendly summer activity that doubles as a practical and personalized accessory, this tie dye towels tutorial is just what you need. Plus, it’s easy enough for toddlers to help with and cool enough to keep older kids (and even teens!) interested.
So, if you're looking for a family-friendly summer activity that doubles as a practical and personalized accessory, this tie dye towels tutorial is just what you need. Plus, it’s easy enough for toddlers to help with and cool enough to keep older kids (and even teens!) interested.
Why Make Tie Dye Towels?
And here's the best part: these towels are not only fun to make, they’re also functional. We’ve used ours on countless beach days, lake outings, pool trips, and even float days on the river, and they’ve held up wonderfully. It’s a project your kids will proudly show off all summer long.
What You’ll Need
- Tie dye kit – We bought an affordable kit on Amazon that came with gloves, rubber bands, and several dye colors. Tulip and RIT are great options.
- White towels – Old bath or beach towels work fine, but you can also buy a set of white cotton towels designed specifically for dyeing.
- Plastic gloves – Most kits include these but have extras on hand if you’re working with littles.
- Plastic tablecloth or trash bags – To protect your workspace.
- Plastic wrap or gallon-sized Ziplock bags – For wrapping the towels while the dye sets.
- Buckets (optional) – For pre-soaking or organizing materials.
Step-by-Step Tie Dye Towels Tutorial
Lay out a plastic tablecloth or trash bags to cover your table or work area. Tie dye can get messy, and it will stain surfaces. Make sure everyone’s wearing old clothes and gloves before you start.
2. Choose Your Towels
You can use old towels you no longer love or grab a pack of new white beach towels online. Just make sure they’re 100% cotton for best dye absorption.
3. Soak & Wring
Lightly soak your towel in water, then wring it out so it’s damp but not dripping. Damp fabric helps the dye blend more smoothly.
4. Fold & Band Your Towels
Here’s where the creativity begins! You can twist your towel into a spiral, accordion fold it, or bunch it up randomly for a more abstract look. Wrap it tightly with rubber bands to hold the shape.
Not sure where to start? Check out this list of 17+ Tie Dye Patterns and Folding Techniques for inspiration. While most are for shirts, they can be easily applied to towels.
5. Dye Away!
Let the kids go wild (within reason!) with the dye. My son wanted a fiery look, so we used red, orange, and yellow in a spiral. My daughter went with a rainbow, pro tip: have extra dye on hand if you're working with thicker towels.
Make sure each rubber banded section has a clear color for bold separation. And remember gloves, gloves, gloves. The dye will stain hands for days.
6. Wrap & Wait
Once your towels are fully dyed, carefully wrap them in plastic wrap or seal them in a gallon-sized Ziplock bag. Leave them to set for at least 12 hours (we usually let ours sit overnight).
7. Rinse & Wash
After the waiting period, unwrap your towels and rinse them under cold water until the water runs clear. Then toss them in the washing machine by themselves on a cold cycle. Dry on low heat and you’re ready to go!
Tips for Long-Lasting Color
- Let the dye sit for a full 12–24 hours to set well.
- Always wash dyed towels separately the first few washes to avoid color bleed.
- Expect some fading over time, but ours still look fantastic after a full year of sun, saltwater, and chlorine.
Why This Is the Perfect Summer Craft for Kids
- Creative – Lets kids personalize their towel with favorite colors or patterns.
- Practical – You’re making something they’ll actually use!
- Budget-friendly – Use old towels and inexpensive kits.
- Minimal prep – No sewing, no fancy supplies.
- Memory-making – Doing this together becomes its own core memory.
Whether you're planning a beach vacation, pool party, or just hanging out in the backyard with the sprinkler, these DIY tie dye beach towels are a fun way to kick off summer and create something your family will enjoy for months to come.
Save & Share!
And if you're looking for more budget-friendly parenting and lifestyle tips, don’t forget to explore more family fun ideas right here on Nanny to Mommy!


No comments
Thank you for dropping by! I would love to hear what you thought. :)
Thanks!
♥,
Diana